


There are a 1,001 ways to do this, and I am positive there is at least one tutorial out there that employs my method. It's an easy, straightforward method so if you haven't seen this before it should inspire you to finally hang up your family pictures.
Now, I know there are many design guros out there who loathe an abundance of family photos. I have read, repeatedly, that it is just too much, too kitschy, too suburban, and too overdone. Well, too bad. They obviously hold this view because they have cold, black hearts and have no family willing to pose in a picture with them. If you love someone, why wouldn't you want to see their smiling mug at the start and close of every day? Seems logical to me, but maybe I'm just a big ol' suburban softie. I'm going to assume you're a softie, too, and want to hang some pictures. Here's how you do it.
1. Begin by taking accurate measurements of the area in which you want to hang the pictures. My area measured 100 inches, even.
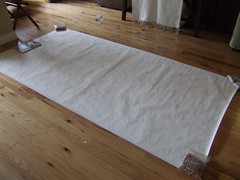
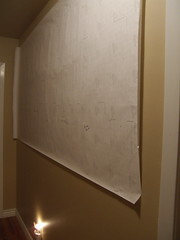
2. Cut a roll of paper (butcher, shipping, presentation, etc.) and cut to size. I use gridded paper, which helps later on as you lay out the pictures. Lay out the paper on the floor or table, which ever is easier and can accommodate the size of the paper.
- Think to the future and leave space for future pictures. I have one more partial row I want to add underneath, so I knew I had to group my pictures higher than normal to accommodate future shots.
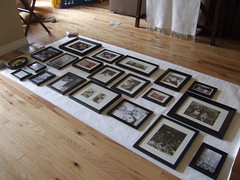
- Go back to the wall you plan on hanging your pictures and see if there is an area where your eye naturally rests. Make a note of that area, and be sure to put a favorite picture in that spot during your floor set up. You'll be looking at that picture over and over again, so make it one you won't get tired of.
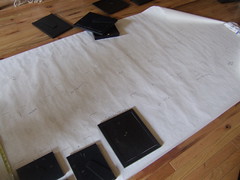
4. Time to start measuring. Begin by tracing an outline around each of the frames. Then, remove the frames on-by-one and measure from the tops and sides where the hanger sits. Don't assume the hanger is in the center of your frame. Frames are mass produced and hangers are frequently off center. You want to know exactly where the nail will sit. Mark that spot with an "X" on your paper. Tips:
- In the empty outline of the frame, make a quick note on the paper of the picture. For example, "Me + The Mister," "Buddy + Buster," "Cancun." You don't think you'll forget the layout, but you will.
- A quick and dirty way to measure is to turn the frame face down on the paper--still within it's outline, just slightly lower. Measure how far down the hanger is, and mark that spot on the paper. You don't need to take side measurements of the hanger, because you'll just use the hanger (remember you can see it) as a guide. You'll get a better idea of what I'm talking about when you see the picture, below.
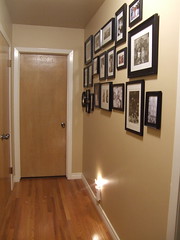
7. Hang up your pictures, and you're done! If you've taken the time to measure accurately, you shouldn't have any problems. Now you have a wall of memories to enjoy everyday for years to come.


 2008 Resolution #17: Read 8 fiction books for pleasure. Click


